EXTRA DRAWING EXERCISE · UPSIDE-DOWN DRAWING
Another drawing.
More to discover.
You have done the first exercise. Now you are going to draw upside down again, with a different example. See what strikes you this time.
You don't need to do the vase exercise again. Below you will find the new drawing example and the steps.
What do you need?
Paper, a pencil and an eraser if you like. Choose a quiet moment, so you can draw undisturbed.
Further down there is also a little gift:
a drawing example for children.
LINE BY LINE
Let your eyes do the work.
Copy the image line by line. The example is already upside down. Leave it that way until you have completely finished.
The download example is the right way up. Print it to fit on A4 and turn it upside down. Or click on the image alongside to view it enlarged.
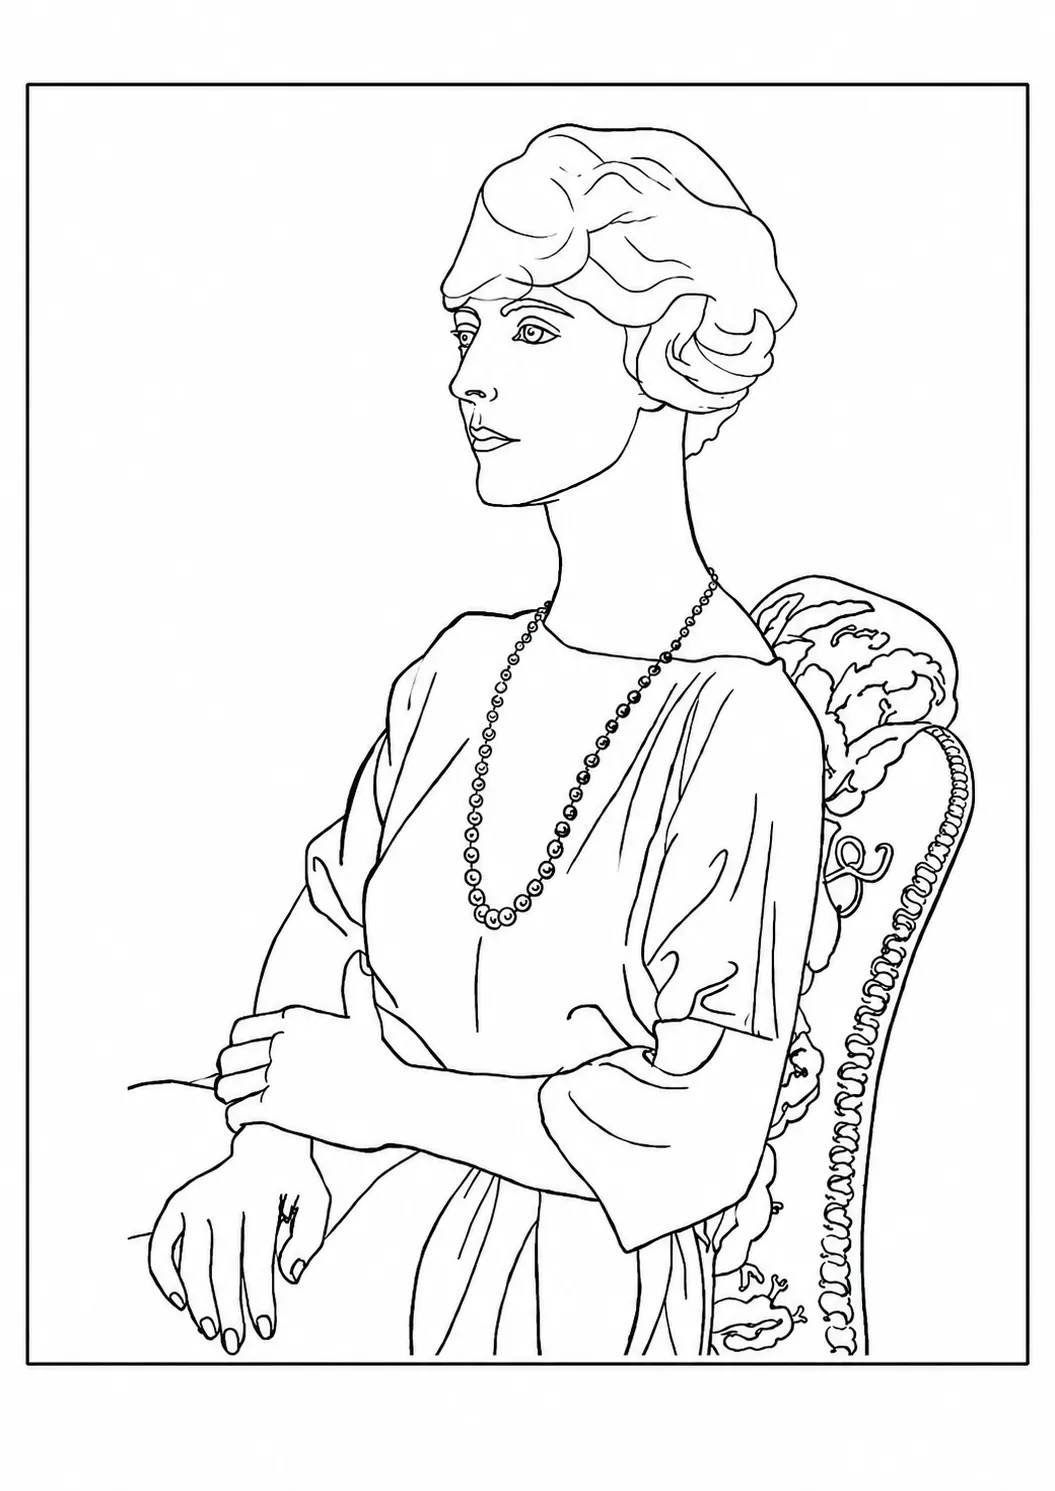
Line by line.
01
Place the example upside down in front of you or beside you.
Look at it as a collection of lines and shapes. The image stays upside down until you've finished the whole drawing.
02
Follow the lines as you see them.
Work from top to bottom and copy each line as you see it. Try not to name the subject. As soon as you recognise something, it's easy to fall back on how you think it looks. So stay with the separate lines and shapes.
03
It doesn't have to be perfect.
This is an exercise in perception, and the result really doesn't have to be perfect. Would you like to judge accurately how long one line is compared with another? Then use your pencil to measure it.
04
The hands.
You often recognise a hand straight away, even upside down. Then it's easy to start drawing what you think a hand should look like. If you like, place a few scraps of paper over the hands so you can follow the separate lines better again.
05
The head.
Do the same with the head: follow the lines and shapes. Partly cover it if you notice that recognising it is getting in your way.
06
Add the very last stroke too.
Finish the drawing before you look at the result. Hold off on judging it for a little while and stay with the lines you see.
ONLY WHEN YOU HAVE COMPLETELY FINISHED
Turn your drawing round.
What turned out better than you expected?
Which lines, shapes or proportions did you capture well? Did it go differently from the first exercise?
You have looked differently again.
Upside down, the subject is less recognisable. That makes it easier to focus your attention on the lines, shapes and proportions you actually see.
The result doesn't have to be perfect. Every time you practise like this, you put your eyes in charge again.
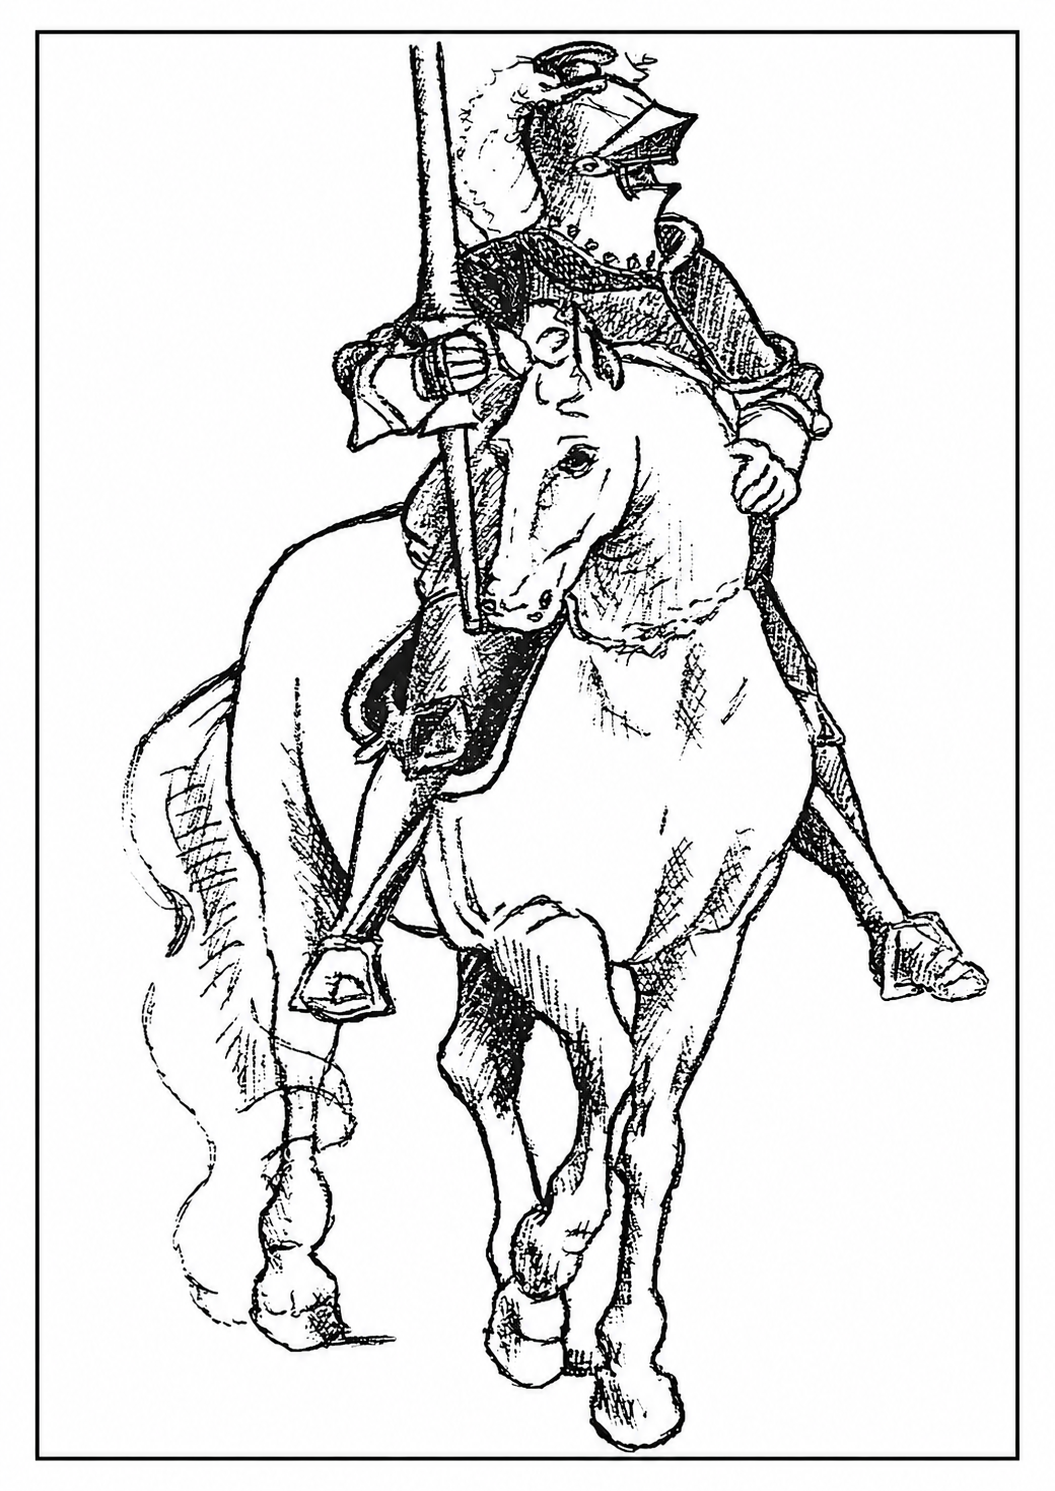
You copy this example upside down too. Click on the image to enlarge it.

EXTRA GIFT · FREE DRAWING EXAMPLE
Children love this too.
Alongside your new drawing example, you get something extra: a free drawing exercise to do with your child or grandchild. For them I have chosen a knight on horseback.
For young children aged five to eight: use a grid.
Draw a grid over the printed example and put the same grid on the drawing paper. Use the same number of squares on both sheets, with the same proportions. That way the child can look square by square at where a line begins, runs and ends.
Place the example upside down and let the child copy the lines square by square. Only turn the drawing round once it is finished.
The download example is the right way up. Print it to fit on A4 and turn it round before you start. You can add the grid yourself with a ruler.
KEEP DRAWING
Would you like to learn more?
In Tekenen (met het rechterbrein) kun je leren I take you through it step by step. You keep practising with lines, spaces, proportions, and light and dark.

Sophia Academie voor Creatieve Ontwikkeling
www.leertekenen.nl · info@leertekenen.nl
Chamber of Commerce (KvK) 32146051 · VAT NL001323038B63