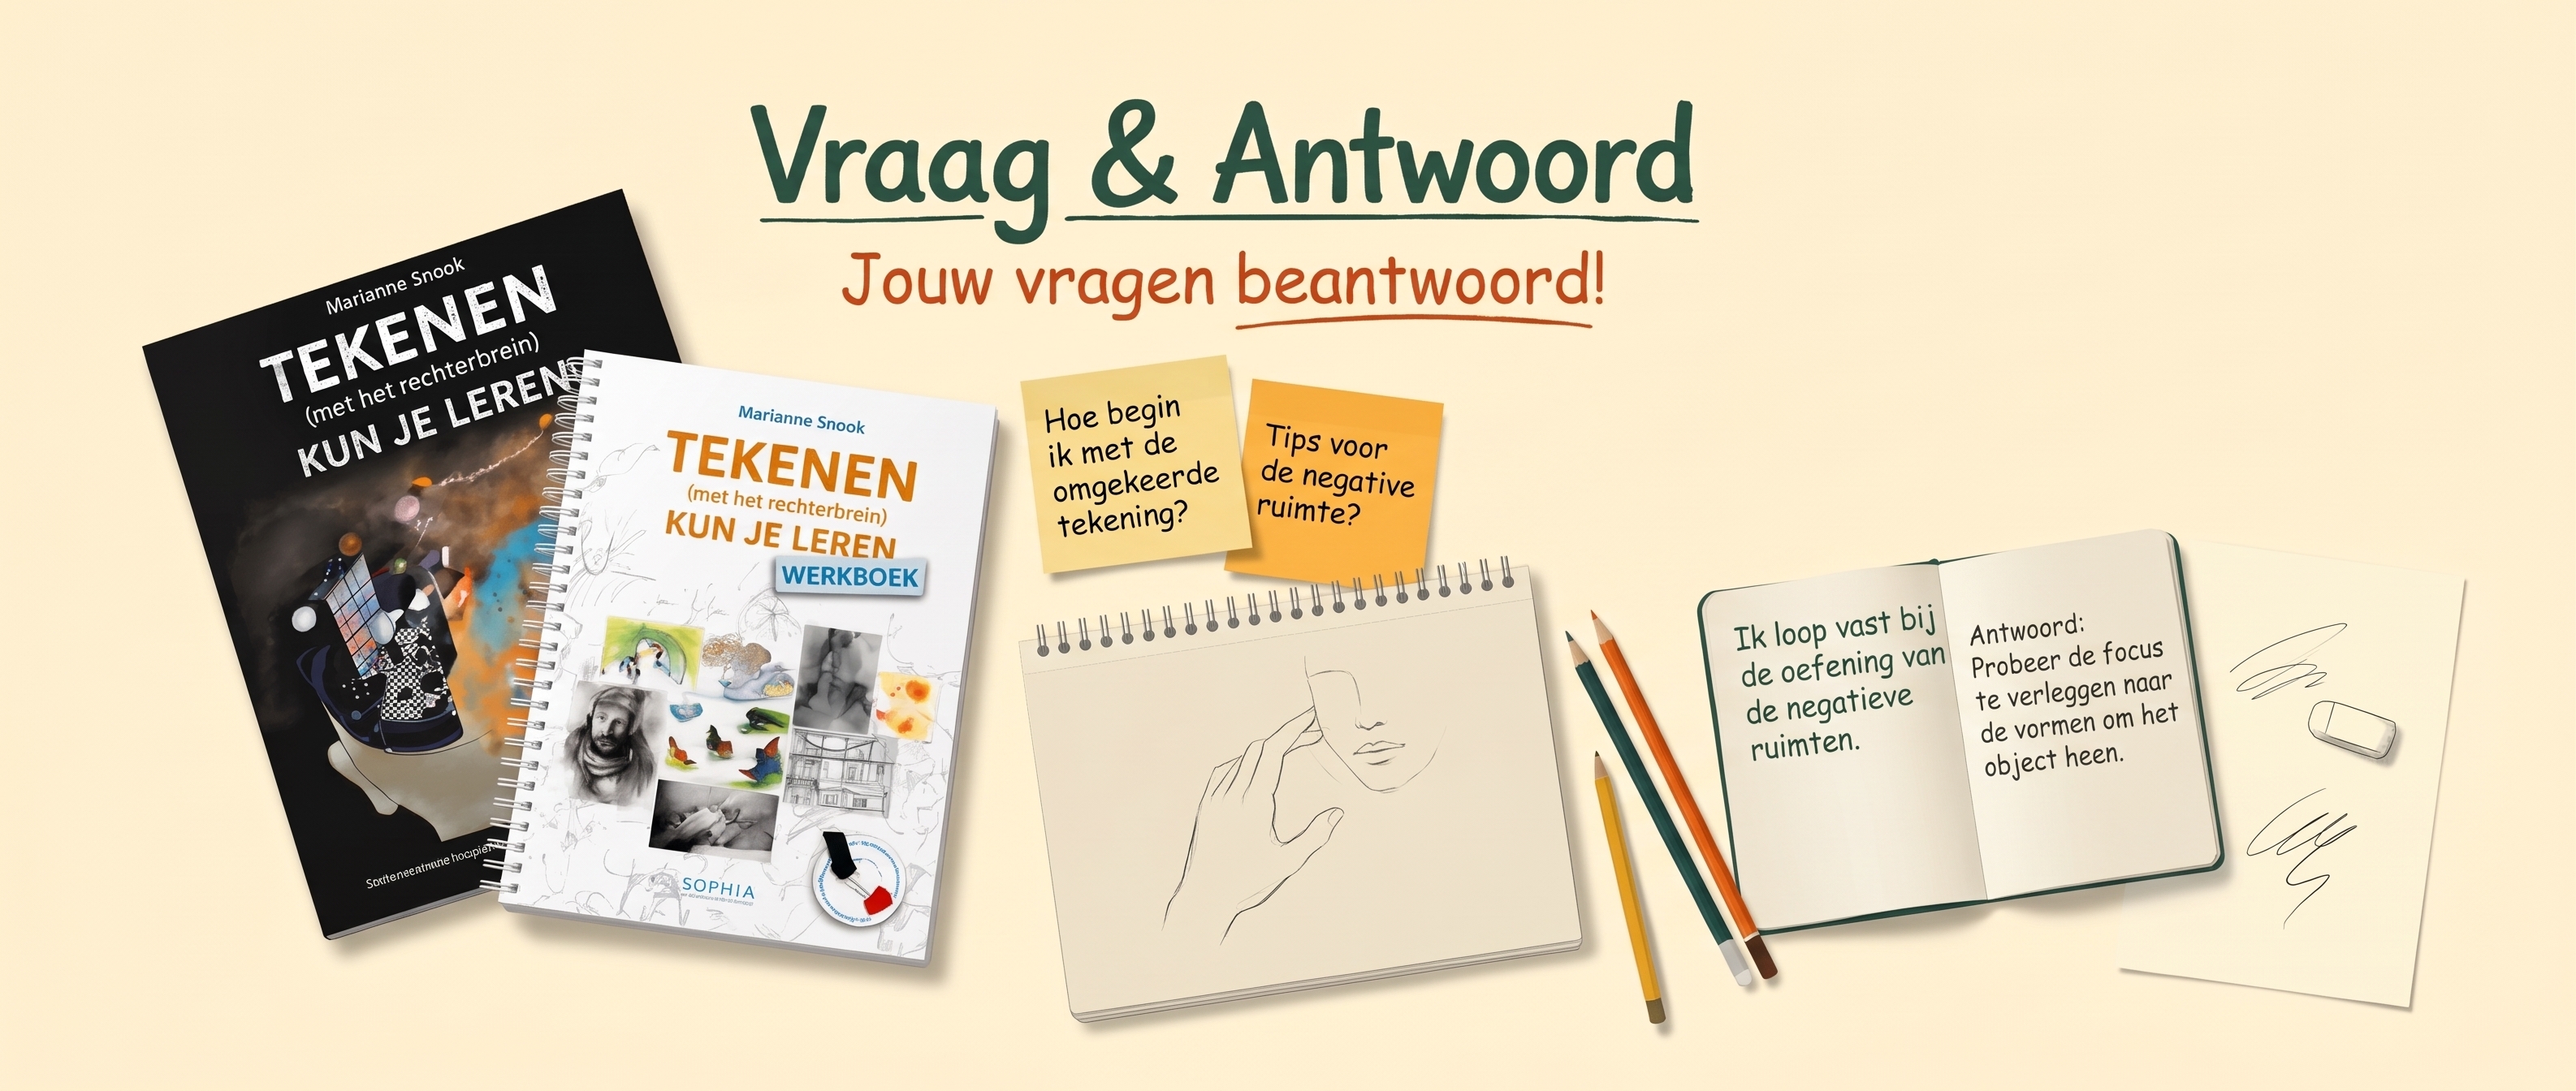
A question about drawing?
I'll help you along.
Answers to questions from readers of Tekenen (met het rechterbrein) kun je leren. About blind contour drawing, negative spaces, sighting and further practice.
You don't have to be able to do it straight away.
You are learning it.
Choose your topic below. Click on a question to read my answer.
Blind contour drawing
How do I know whether I am doing blind contour drawing properly?
You move your eyes very, very slowly, millimetre by millimetre along the contours. Your eyes and pencil move at the same pace. While drawing, you don't look at your paper. You are, as it were, a ‘visual seismograph’.
That is all there is to it. Don't check whether it is right, don't try to make it look like the object. What ends up on the paper is unimportant in this exercise. It is about the exercise, not the result. This way you give perceiving with the right brain room, and you let go of checking for a while.
I once had a student who travelled a lot and, while on the move, followed the contours in their mind with a knitting needle. I would rather see a line appear on paper as well, but the example shows what it is about: looking attentively and letting your hand follow your eyes.
What are contour lines? Do I also draw the lines inside an object?
Contour lines are all the lines you can touch. So not just the outline, but also the lines inside: for example the edges of books on a shelf or a ring on your finger.
The lines of shadow shapes are not contour lines: you can't really touch them. In blind contour drawing you include all the tangible contours of your object. Keep your attention on looking, not on whether the lines on the paper will join up later.
May I glance at my paper during the 100 Days Challenge?
No: in this exercise you draw for ten minutes without looking at your drawing paper. Your eyes stay on the object.
You want to give the right brain all the room it needs to perceive. As soon as you look at the paper to check whether it is right, the checking joins in again. In this exercise it doesn't have to become anything or look like anything.
In ‘Het hoeft niet te lijken’ I'm allowed to look for one second. What is the difference?
The exercise after Nicolaïdes in It doesn't have to look like it is an intermediate step between completely blind contour drawing and drawing from life. There you may look at your paper for one second to see where the next contour line begins.
In the 100 days of blind contour drawing you don't do that: you draw for ten minutes without looking at your paper while drawing. So they are two different exercises.
Do I have to wait a hundred days before I carry on with the book?
No! As soon as you have finished chapter 2, you move on to chapter 3. During the 100 Days Challenge you simply carry on with the book and do the exercises in order.
You don't need to be able to do blind contour drawing ‘perfectly’ first. You keep practising it every day alongside the other exercises.
Which object is best to choose?
Choose a real object with lots of clear contours. Things from nature are often very suitable: a shell, a piece of tree bark, a twig, a flower with larger leaves, ginger, an apple peel, a cabbage cut in half, a head of lettuce or a cauliflower.
That way your eyes have something to discover. A glass has contours too, but it quickly turns into one long line and can therefore be a bit boring. An object with more edges can help you stay at that very slow pace.
Do I pick something different every day, or can I keep drawing the same object?
You can pick something different every day, but it is often useful to practise with the same object for a while. I had a little dish of shells myself that I kept turning around. That way there was always something new to see.
Don't choose the same object to check whether your drawing is starting to look more and more like it. It doesn't have to be accurate! The two most important things remain: don't look at your paper, and draw very, very slowly.
Can I also use a photo or a picture from the internet?
For blind contour drawing I strongly recommend that you choose a real, three-dimensional object.
The art of drawing is that you translate the three-dimensional world around you into a two-dimensional image on paper. If you copy a picture, you miss an essential part of that. So with real objects you will get much more out of this exercise.
My eyes move faster than my pencil. How do I improve that?
This happens to almost everyone: your eyes jump ahead and you bring yourself back again. It takes concentration and time. Give yourself that time and keep practising every day.
Make up your mind to move your eyes and pencil at the same pace. Notice that your eyes have run ahead? Calmly go back. Don't pay too much attention to the fact that it isn't working yet; with practice it gets easier and easier.
My lines are jagged instead of flowing. Will that get better?
In this learning phase it is all about looking very precisely and slowly. Your pencil follows your eyes at the same pace, without you looking at your paper. The line doesn't need to be beautiful or flowing yet.
Compare it to playing the piano: you first practise a new piece of music slowly. After a lot of practice you can play the same thing faster without losing accuracy. In my explanation in the book I describe how repetition strengthens the connections in your brain and how myelin supports signal transmission.
So keep practising faithfully. Later you will be able to draw faster while still observing just as intensely and precisely. Speed is not the goal right now.
The proportions are off, my drawing ends up small or it doesn't fit. Does that matter?
No. Please let go of thinking about the result during this exercise. It doesn't matter if your drawing ends up small, lines don't join up or the proportions aren't right yet.
You are training your powers of observation and your hand-eye coordination. Because of that, the lines can gradually become more and more accurate over time. But that is not what you focus on during blind contour drawing.
Experienced artists mainly look at what they are drawing and increasingly trust their hand. You develop that trust by practising. Don't start drawing faster to get a bigger or ‘nicer’ drawing.
I finish before the ten minutes are up, or I draw off my paper. What now?
Drawing off your paper doesn't matter at all! Have you finished and the ten minutes aren't up yet? Start again.
Also check whether you are going too fast. It really is millimetre by millimetre, very, very slowly. At that pace you can't do all that much in ten minutes. If you like, choose an object with more clear edges, such as a flower with larger leaves, and watch the second video on blind contour drawing again.
It's not about what you draw, but that you do ten minutes of blind contour drawing.
Ten minutes feels very long. Can music help?
Try to complete the full ten minutes. It is an exercise, and it asks something of you. Drawing slowly and not looking can feel unfamiliar at first. If you keep going, it usually gets easier and you settle into a calmer state.
The music of Relax with the Classics is what I use with this exercise to support relaxing and slowing down. Try it and see what it is like for you to draw with the music.
Because of the slow pace you start seeing more and more details. Sometimes you suddenly discover how beautiful something is that you would otherwise hardly notice.
I skipped a day. Do I really have to start again at day 1?
The advice to start again at day 1 is meant to help you build a daily habit. But you can take it with a pinch of salt.
Do you enjoy starting again and experiencing what a challenge like this does for you? Then do that. Does it actually feel discouraging? Then carry on where you left off. Even if you have skipped more days. The challenge should serve you. If that rule doesn't, let it go.
After being ill I find it hard to concentrate. How do I pick it up again?
Be as kind to yourself as you can while you are still regaining your strength. You could, for example, start with five minutes a day and, as you feel better, gently build up to ten minutes.
Keep the exercise simple: move your eyes very slowly along the contours, let your pencil follow at the same pace and don't look at your paper. That's all you need to do at that point.
I keep thinking about what I'm drawing and I find it difficult. How do I deal with that?
You are learning a different way of seeing. That takes getting used to. Try to approach the exercise as a discovery: what do you see when you look very slowly?
In my lessons I ask for language that supports this learning. The right brain, as I call it in the method, is out for adventure and new discoveries, and dares to take risks. Keep encouraging yourself and each other in that. You don't have to be able to do everything straight away; you are practising.
Negative spaces
The cyclist or the chair isn't coming out well. Should I keep rubbing out and starting again?
The most important thing is that you understand what the exercise is about: can you see and draw the negative spaces? If you can, that is enough for this step. We are not aiming for perfection.
In the main book you learn the component skills: edges, spaces, proportions, and light and dark. After that you are going to practise a lot; that is what the Workbook is for.
Compare it to driving. After your driving test you can drive, but by doing it a lot it becomes easier and more natural. With drawing you build up your flying hours in the same way.
My viewfinder moves and the Basic Unit shifts. What can I do?
It's not a problem if that first Basic Unit is a bit messy. It's your starting point, nothing more. So don't draw that first shape too heavily.
When you then draw the negative spaces of the chair, you will automatically discover whether you need to adjust that first shape. Then you do so. Even an experienced artist often first roughly sets down where the composition will go and then shifts or improves it afterwards.
So you don't need to get stuck on a first measurement that isn't quite right yet. You can adjust as you draw.
I see ‘a rectangle with a corner taken out’. Am I naming things after all?
You are still trying to give the space meaning with something you know. In my explanation I call that the left brain still wanting to stay a little ‘in charge’. Ha.
Try to let go of that label too and look at the shape as it presents itself. You can kindly tell yourself: ‘Not right now; I'm learning something new. You'll get your own tasks back in a moment.’ Or very simply: ‘I'm not doing that now.’
Stay with what you see, without having to turn it into a familiar shape or give it a name.
Sighting
In chapter 12, ‘Dry Run’, can I sight flat on the image?
Yes. Because this is a ‘dry run’, you sight flat on the image. The difference from simply measuring is that you compare the line you are measuring with your Basic Unit.
It's about the proportions relative to each other: how long is this line in relation to that first measurement? By comparing in this way you stay in the visual domain. You only sight when you are in doubt.
After the Basic Unit, should I mainly draw from the negative spaces?
In a sense, you are building. You don't only use the negative spaces, but also sighting. With every line you ask yourself: do I draw this one from the negative space, or is this a line whose proportion I want to check?
You think in terms of the three component skills you have learned so far: edges, spaces and relationships. Try to let go of all language as you do this. You are not drawing nameable ‘things’, but lines and spaces.
Think back to the upside-down drawing from chapter 1: you didn’t know exactly what you were drawing and followed the lines as they came. Now you do the same thing, adding the negative spaces and sighting. This is the preparation for portrait drawing. See also pages 166–171.
I find chapter 11, ‘Learning to sight’, difficult. Can I still move on to chapter 12?
Learning to see and draw relationships and perspective is the hardest part for many people. So: you are not the only one!
If you more or less understand how to sight, it’s best to move on to chapter 12. There you apply what you have understood and learned. Things become clearer as you go.
If you like, watch the instructional video on sighting again while you practise. Just keep going. After this third component skill comes portrait drawing.
The book, the Workbook and further practice
Do I start with the main book, or can I use the Workbook alongside it straight away?
Start with Tekenen (met het rechterbrein) kun je leren. In it, you learn the skills of perception step by step. You use the viewfinder wherever the exercises call for it.
Once you have worked through the main book, the Workbook follows. It grew out of my question: how do I help students keep drawing after their lessons?
The Workbook is a hundred-day programme in which you draw for at least half an hour every day in the way you have learned. You repeat and deepen your skills and build a drawing habit. In my explanation I describe this as strengthening and reinforcing the connections you developed while learning. The app Tekenen kun je leren was developed to help you keep up that challenge.
Are the 100 days of blind contour drawing and the 100 days of the Workbook the same thing?
No, they are two different challenges.
- With the main book: ten minutes of blind contour drawing every day for a hundred days. In the meantime, you simply carry on with the chapters and exercises.
- After the main book: the hundred days of the Workbook, drawing for at least half an hour every day. You keep practising the skills you have learned.
So one is a daily perception exercise while you are learning; the other helps you keep drawing afterwards.
How do I draw light and dark with a pen in my journal? Do I really have to work with a pen?
With a pen you apply light and dark differently than with a pencil. Try looking into, for example, cross-hatching: hatching with crossed lines. You can also hatch more loosely, as you would with a pencil.
The advantage of a pen is that you look very attentively at what you are drawing, because you can no longer erase. So you don’t need to make a mid-tone first and then erase it again.
Stepping out of your comfort zone for a while can help you discover something new. But if it really doesn’t suit you, or you don’t feel like it? Then just carry on with a pencil. I say that in the book too: it has to suit you.
Is your question
not listed yet?
Feel free to ask me or the team your question. Tell us which exercise you are on and what you are struggling with. Then we can think along with you in a focused way.
Would you like to watch or listen to something first? Below you will also find the instructional videos, drawing music and drawing examples.
Founder and owner of Sophia Academie, drawing coach, writer and artist.

Sophia Academie voor Creatieve Ontwikkeling
www.leertekenen.nl · info@leertekenen.nl
Chamber of Commerce (KvK) 32146051 · VAT NL001323038B63